Loading Firmware
QGroundControl desktop versions can be used to install PX4 firmware onto Pixhawk-series flight-controller boards.
Before you start installing Firmware all USB connections to you vehicle must be disconnected (both direct or through a telemetry radio). The vehicle must not be powered by a battery.
To install the firmware update:
First select the Gear icon (Vehicle Setup) in the top toolbar and then Firmware in the sidebar.
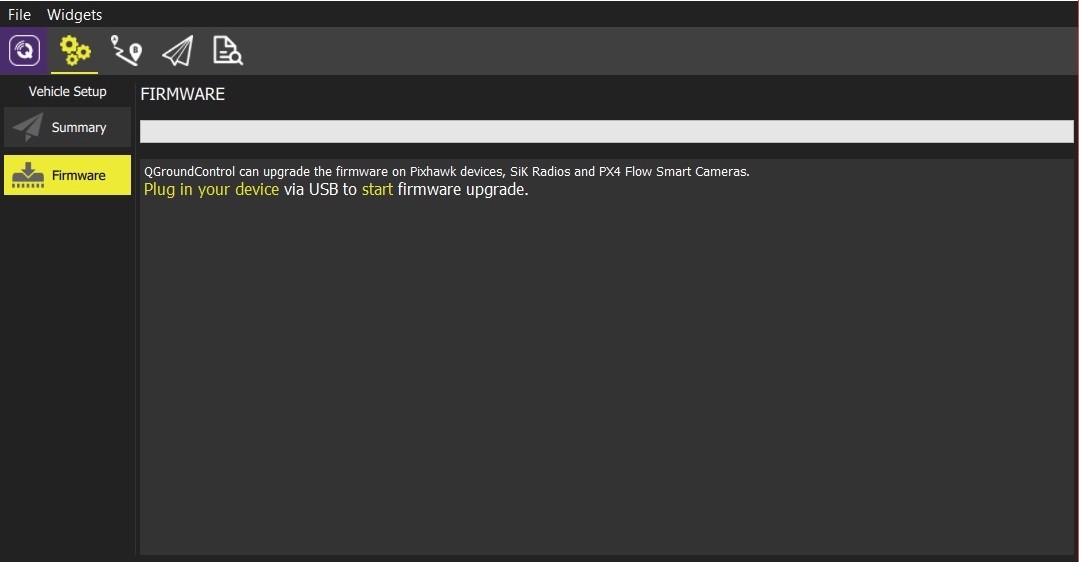
Connect the flight controller directly to your computer via USB.
Connect directly to a powered USB port on your machine (do not connect through a USB hub).
Once the controller is connected you can choose which firmware to load (QGroundControl presents sensible options based on the connected hardware). Accept the default setting to install the latest stable version of PX4.
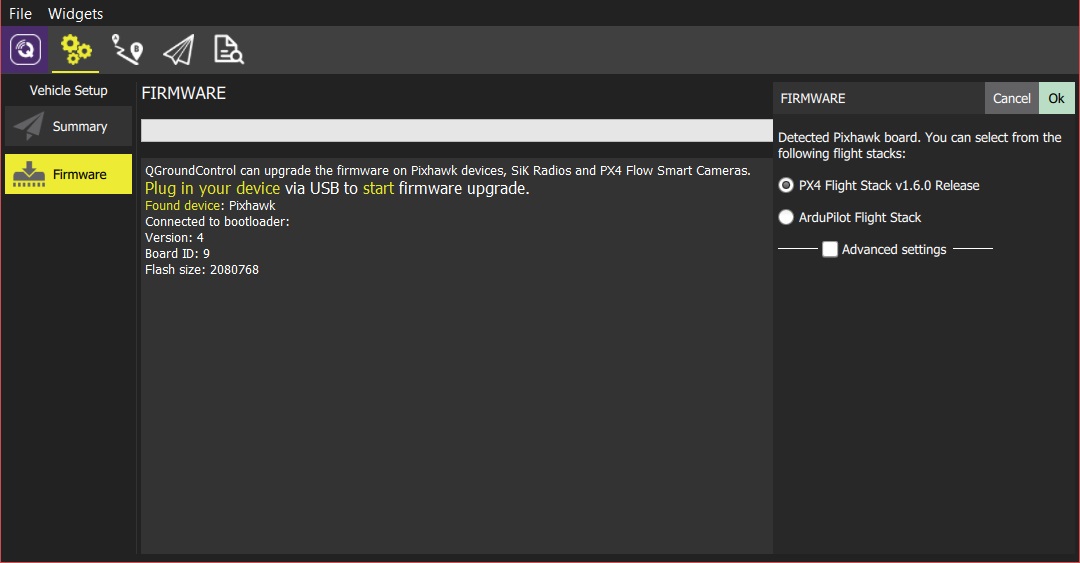
If another autopilot is pre-installed, select the PX4 Flight Stack ... Release option to select PX4.
Click the OK button to start the update.
The firmware will then proceed through a number of upgrade steps (downloading new firmware, erasing old firmware etc.). Each step is printed to the screen and overall progress is displayed on a progress bar.
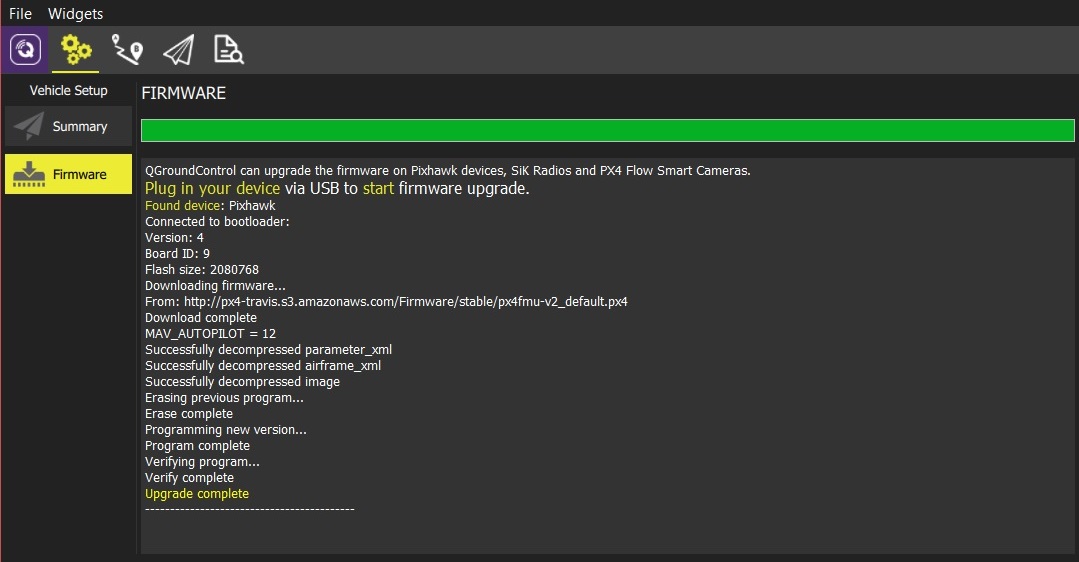
Once the firmware has completed loading, the device/vehicle will reboot and reconnect.
Next you will need to specify the vehicle airframe (and then sensors, radio, etc.)
QGroundControl will install the current stable version of PX4, but you can also choose to install beta builds, daily builds, or custom firmware files.